Building a crystal radio

Building a crystal radio from scavenged components.
- Year 2016
Project Context
For my project trying to get young people to consider the systems they take for granted, I am designing “dystopian” making kits. I spent the last few days prototyping a DIY radio as a possibility for something that the participants could make build as part of the kit.
The kit would propose the hypothetical situation that society as we know it has collapsed, the kit would then challenge the participants to build way to receive communication from the base camp (or something like that!). Inside would be the components need to build a radio.
To build the radio, I followed this MAKE Magazine tutorial to build a simple bottle radio. I found it very hard to understand the instructions, and to gain a better understanding of how radios work, I decided to take one apart myself. Sadly I was unable to find a simple radio and had to dissect this alarm clock.
Process
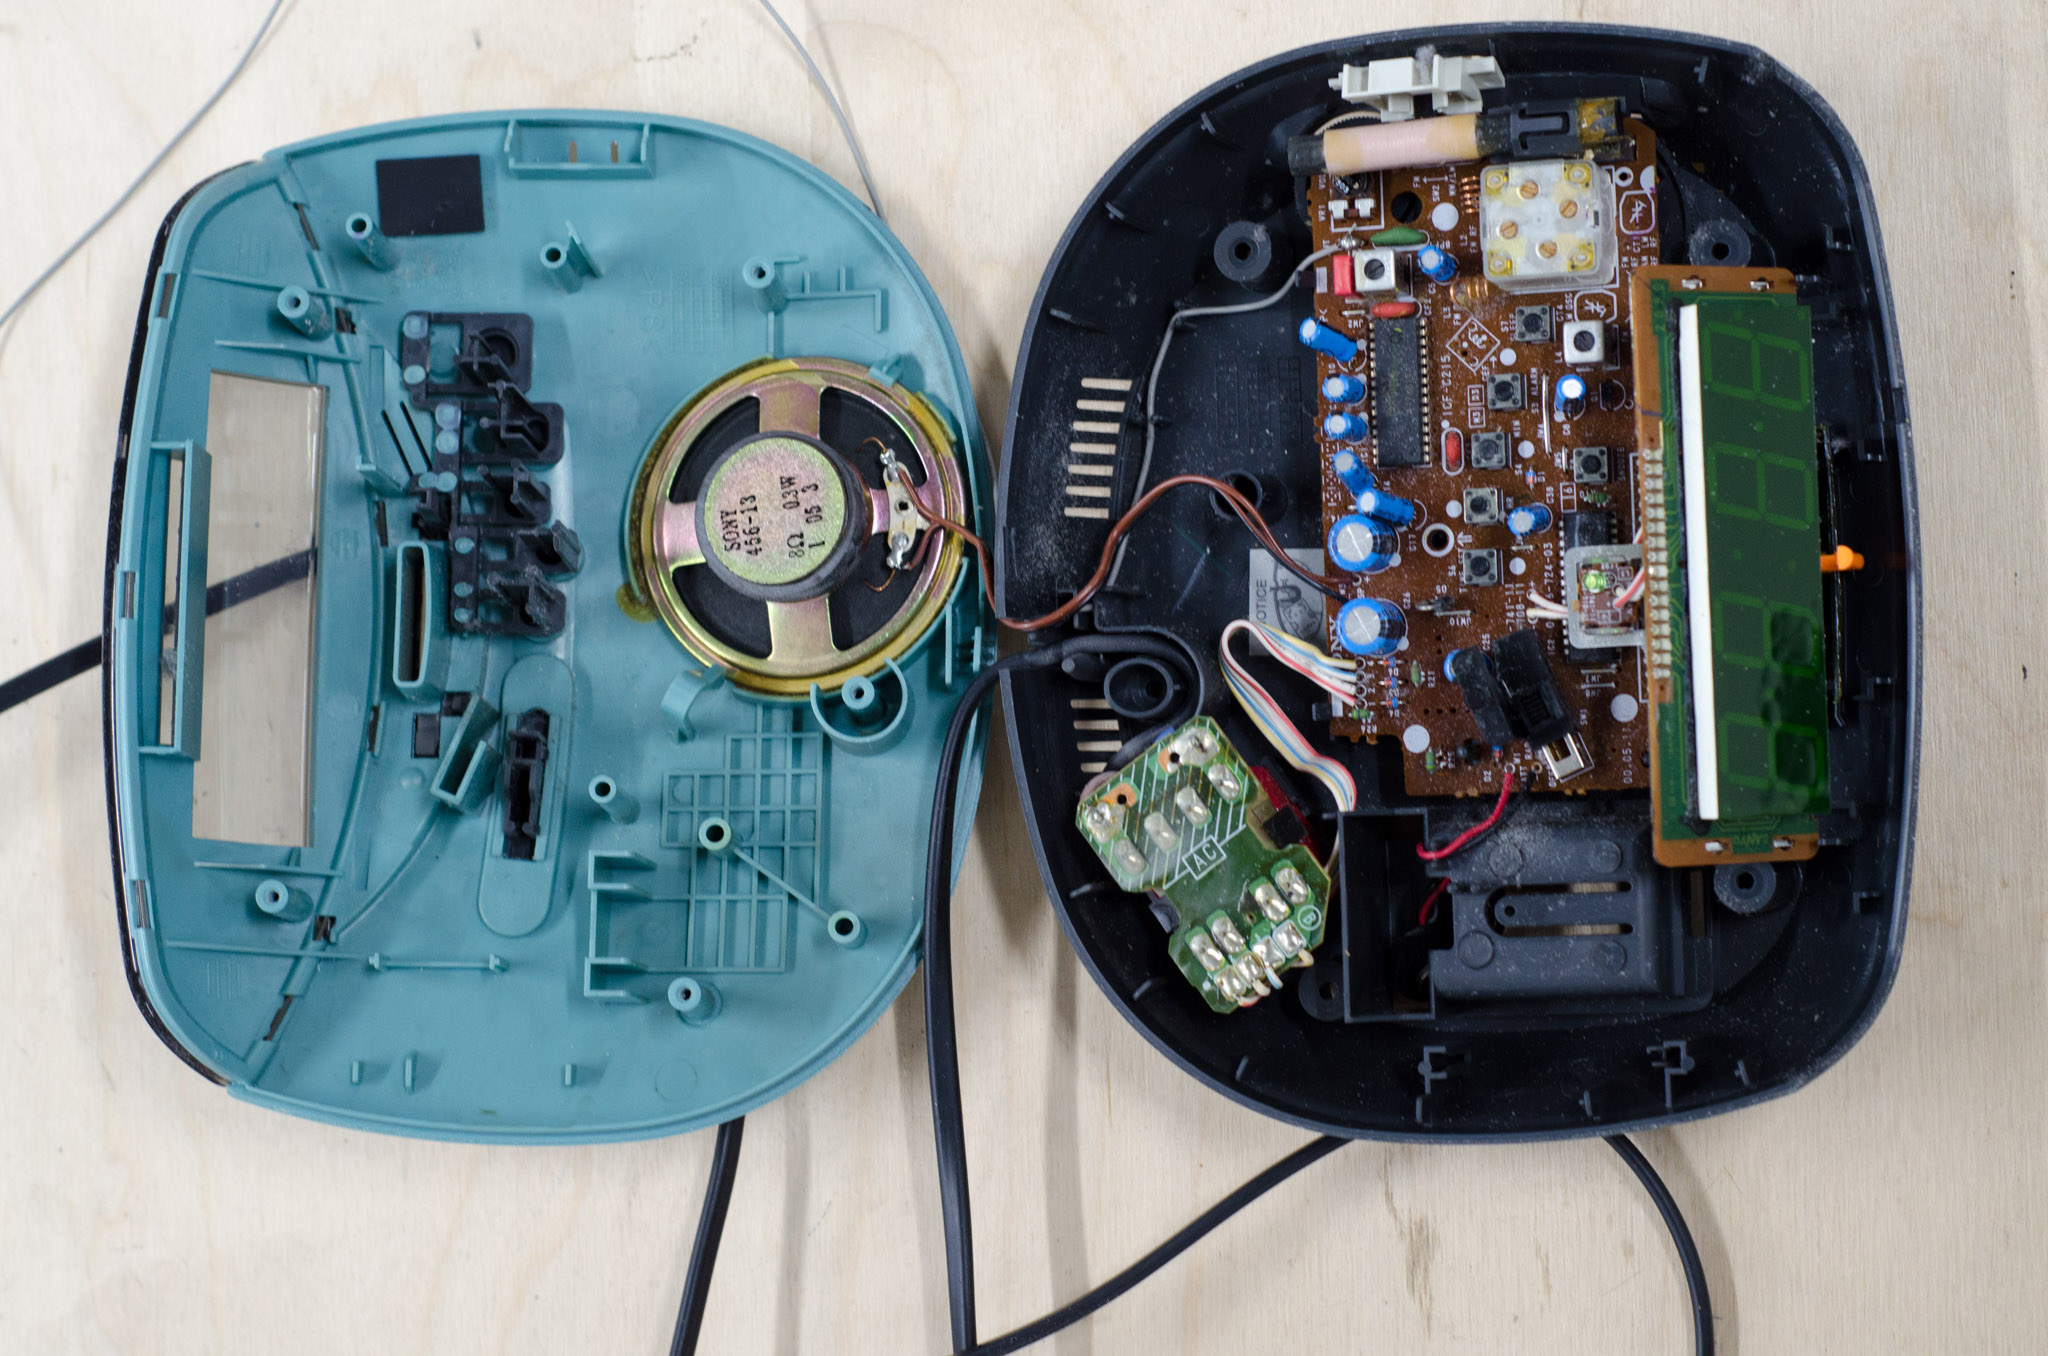
Inside the components were very complex, wired up to a large circuit board so it was hard to understand which parts did which. However it was still very interesting to do so, and to see something that before was scrap, as so many intriguing and valuable components still within.
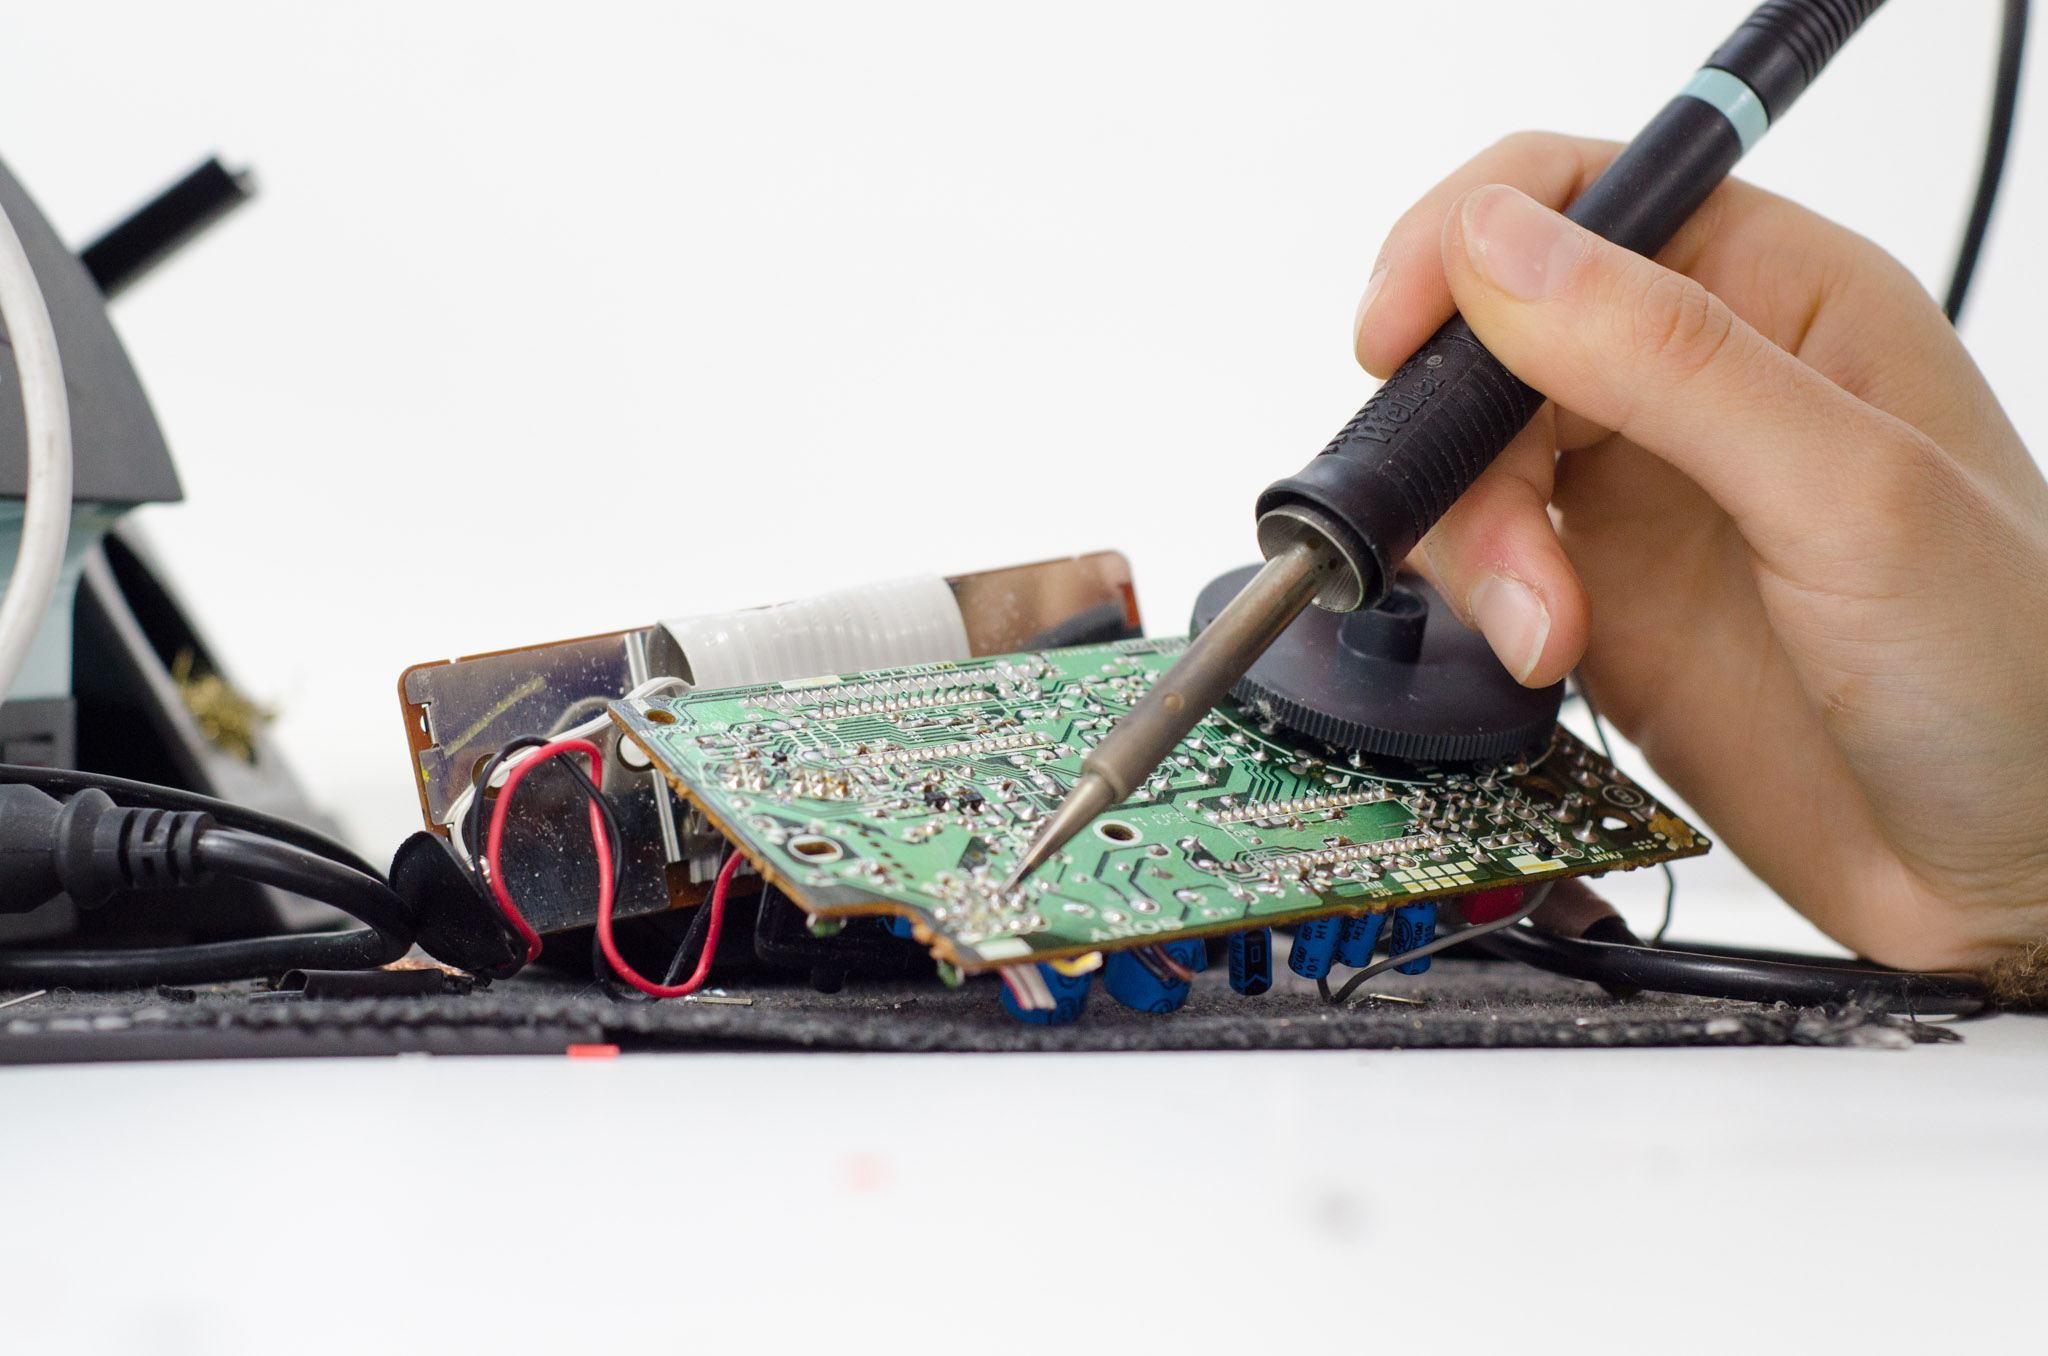
Urban Scavenging
One of the key elements to my kits is that I’d like them to be incomplete. I want the participants to have to become “urban scavengers” to find some of the components, taking apart scrap electronics in order to find a missing resistor, for example. This will help them to tie the lessons learned in the kits, into their material reality.
When I first found the tutorial, I was missing one of the components myself: a germanium diode. I learned that these diodes let through around half the voltage as a normal silicone diode and also learned how to test this on a multimeter.
I unsoldered some of the diodes from the radio, but sadly they were not germanium diodes. Two days later however I found a large circuit board from within a computer and managed to scavenge several germanium diodes from this.
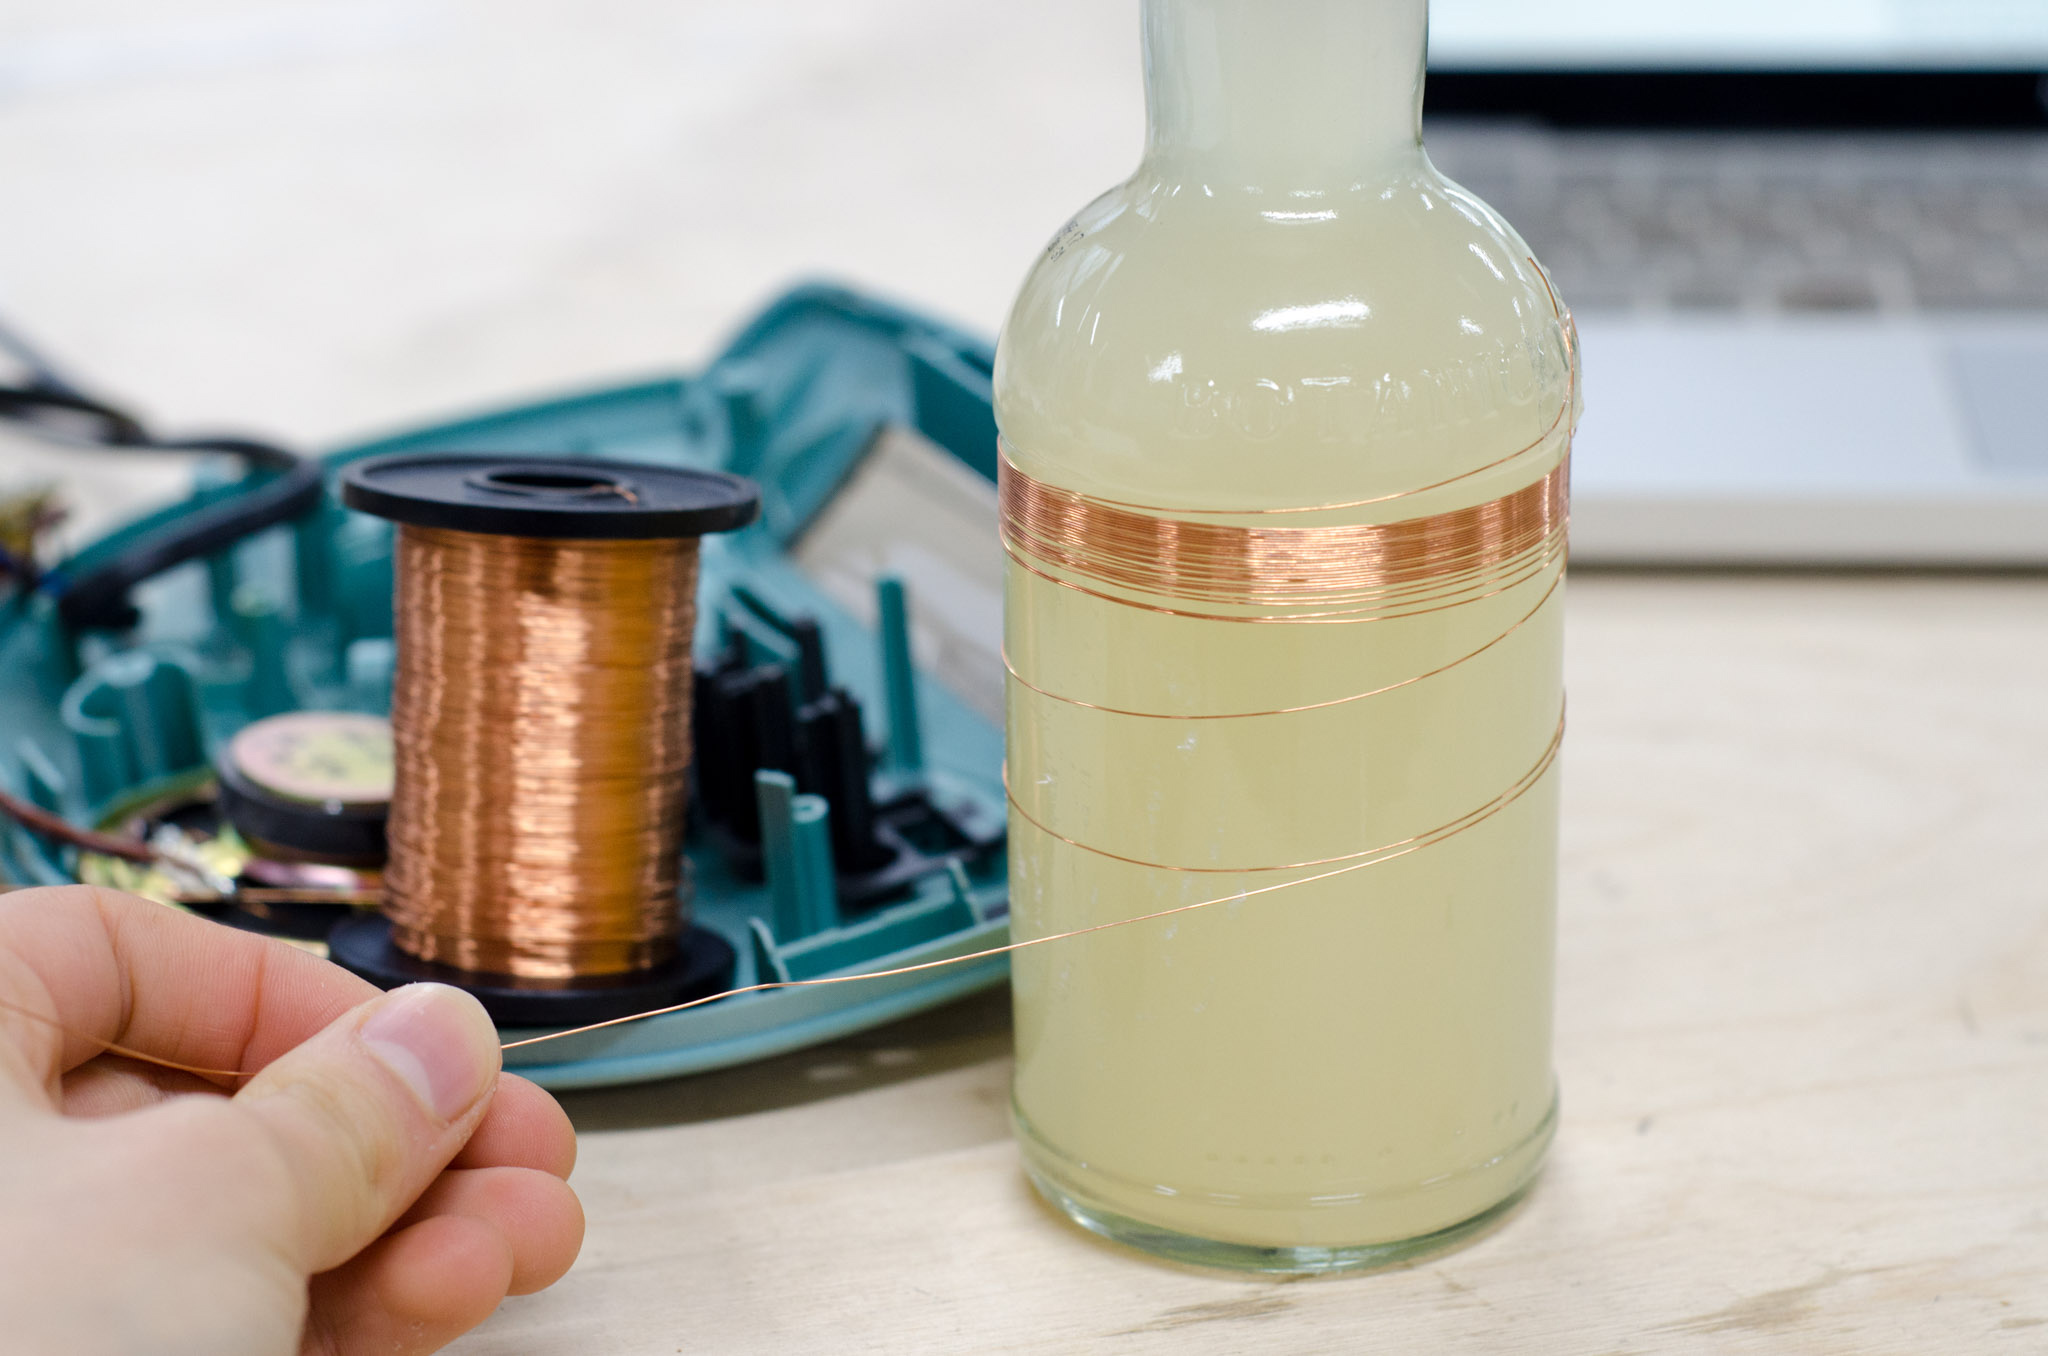
Construction
Back to making the radio, the first stage was to make a very long copper coil. I used enamelled copper wire left over from making my Made in China Light Design. It. Took. Ages. I did speed up the process hugely however by building a simple spindle out of some dowel and scrap wood in the workshop (I wonder if this could be integrated within my packaging?).
The next stage was to connect everything up. The tutorial suggested screws and washers, something I found to be really successful, quite hardy, and neat. I much preferred this to a bread board.
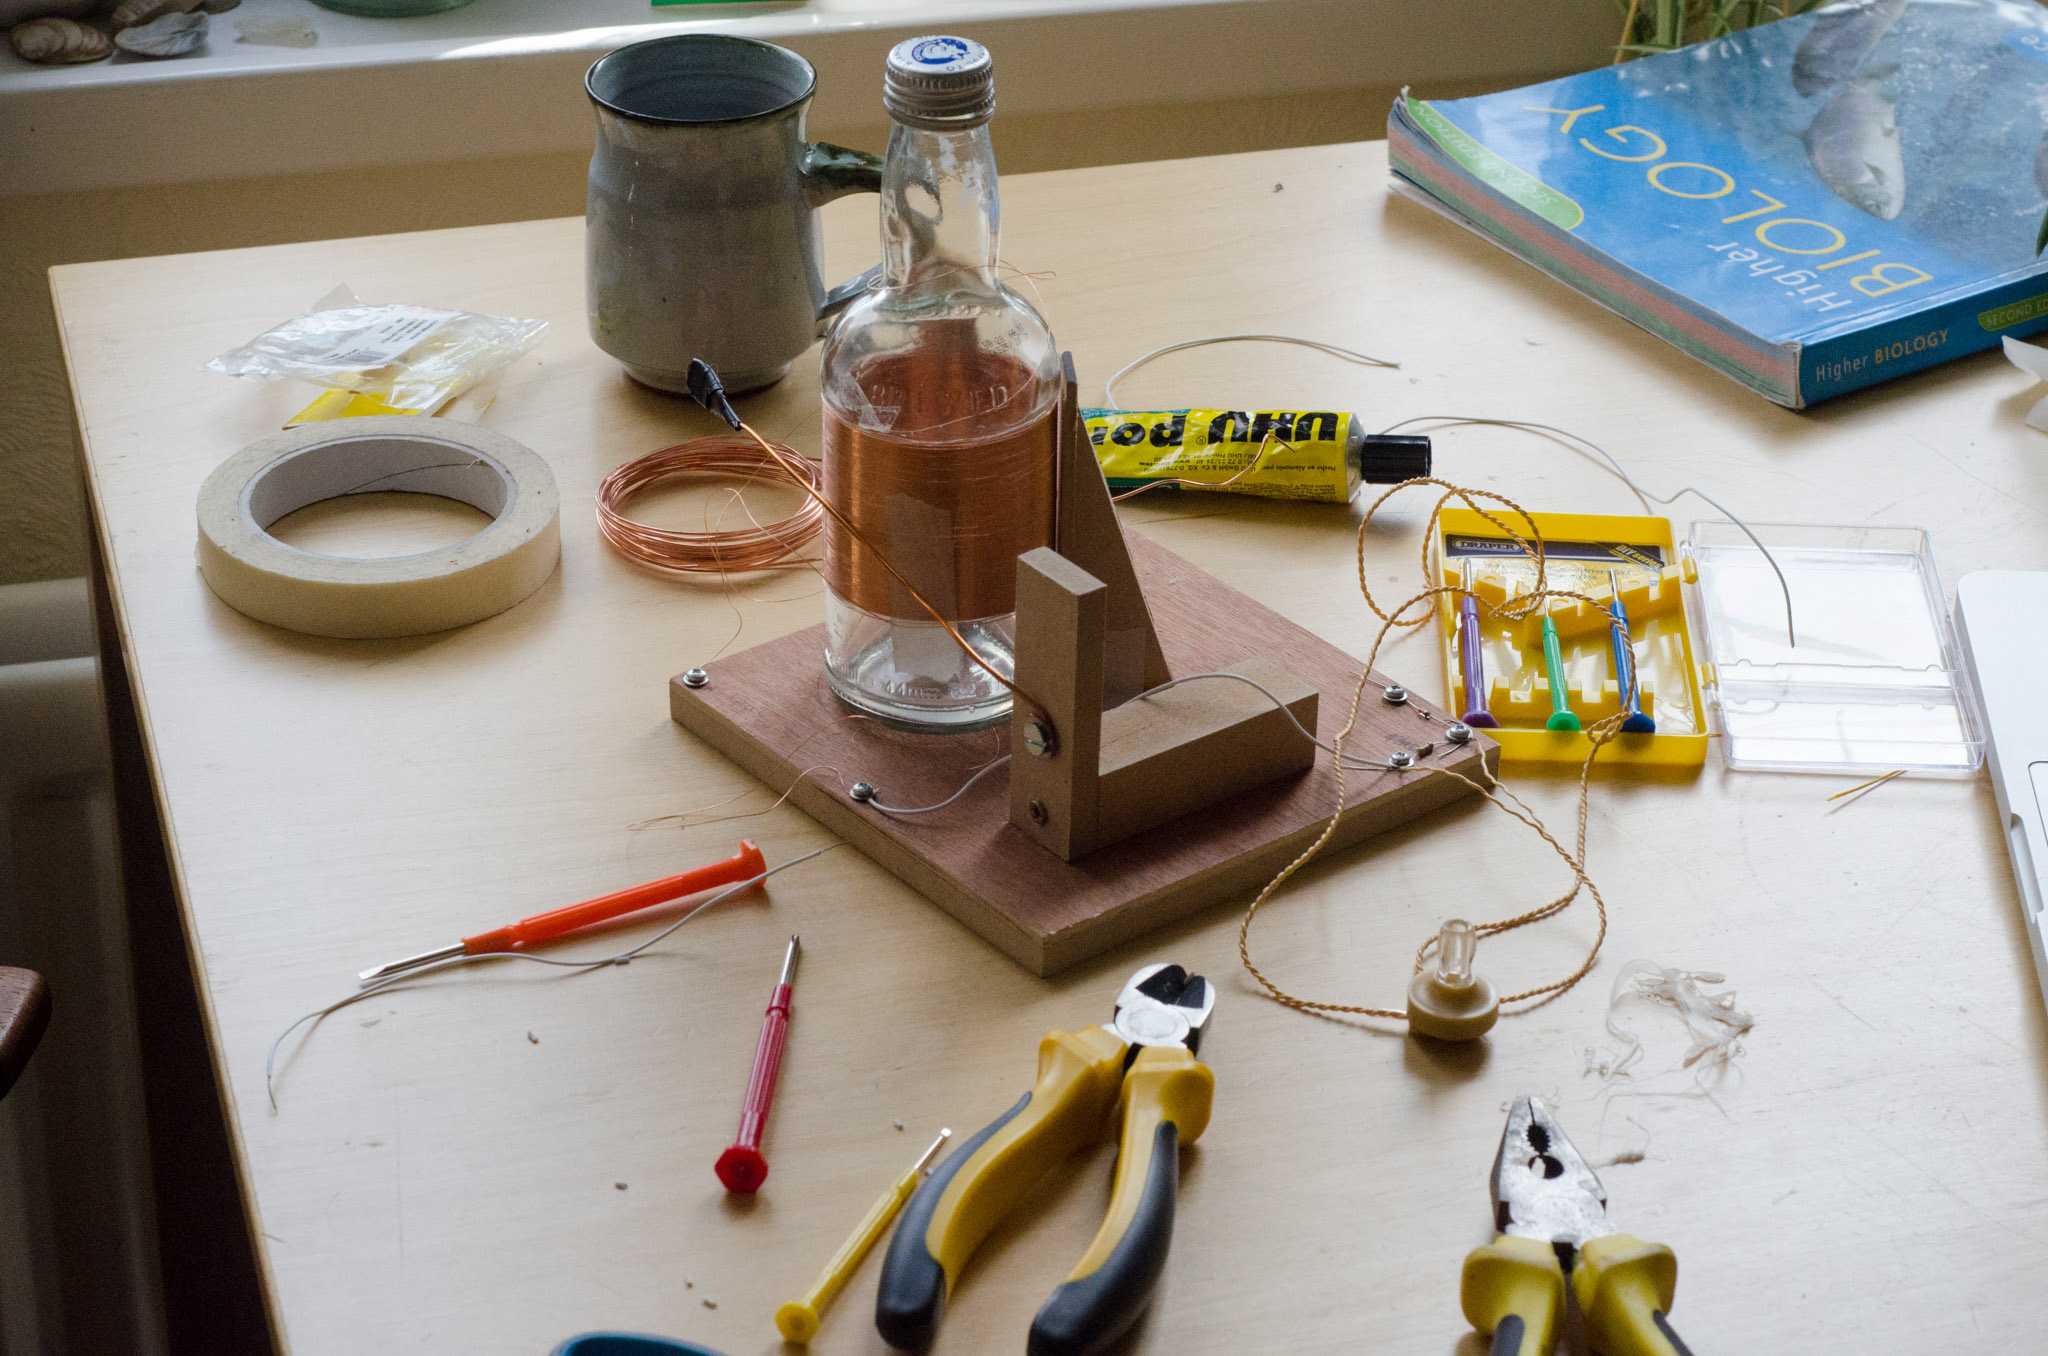
The Finished Product
After reading and re-reading the tutorial trying to wire everything up in the right place, I was suddenly able to hear a signal! It was the highlight of my week – such an exciting moment!
Something worth noting though is that I’m unsure why the radio is working without a ground connection at all… And I also believe I’m missing a capacitor somewhere (the instructions I read online were incomplete) so I still need to do quite a lot of understanding.
I’ve learned that radios could be quite an interesting kit to teach. They require no soldering or specialist tools. With detailed enough plans and instructions very basic radios could be built in a day.
